Seed Starting Guide
These instructions are for the seeds that we sell. Our collection is curated for ease of growing. Many have been treated for advanced germination and disease prevention, eliminating steps that other perennial seeds may otherwise require.
Keep it simple.
-

Germinating.
The key difference between indoor and outdoor planting, is that indoors you want to use a soilless medium (to prevent fungal issues), in a container that allows drainage.
Quite simply:
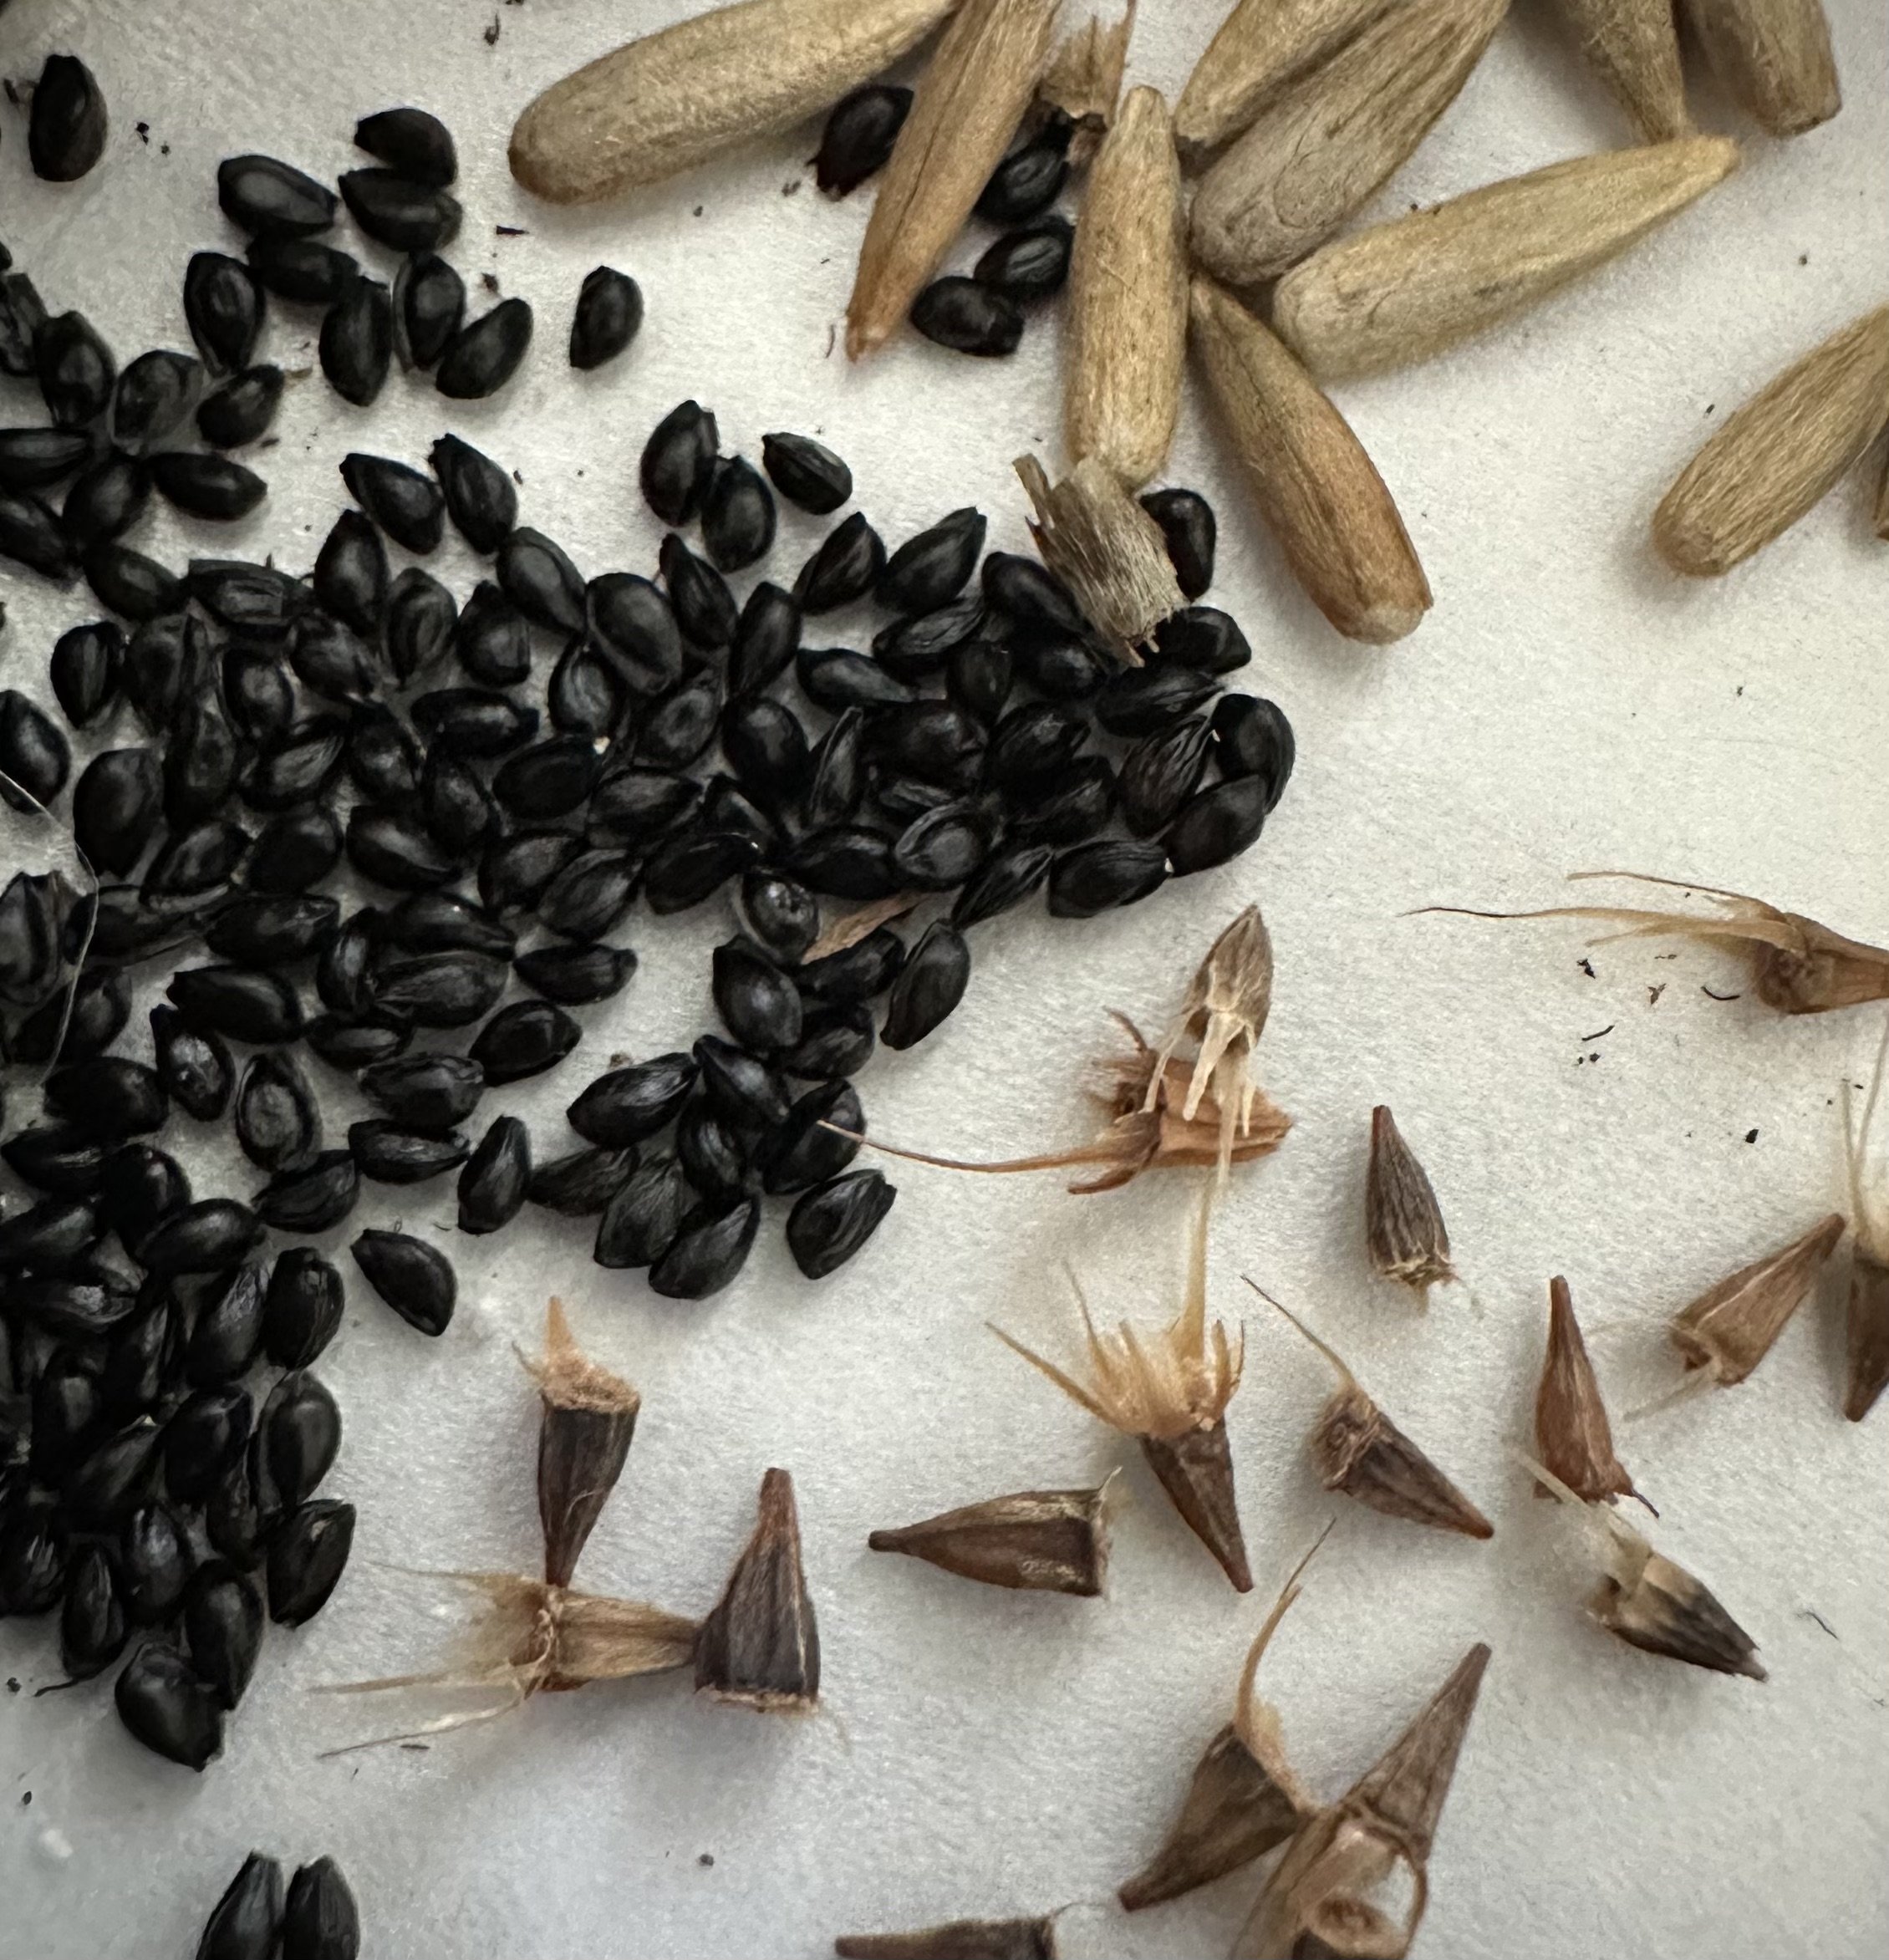
If the seeds requires light to germinate (as indicated on the label), press it into moist growing medium and expose it to light.
If it does not require light to germinate, press it into the soil about ¼ inch to ensure it’s fully covered.
Keep soil moist - use a spray bottle or light touch watering can. No need to drench.
-

Growing On.
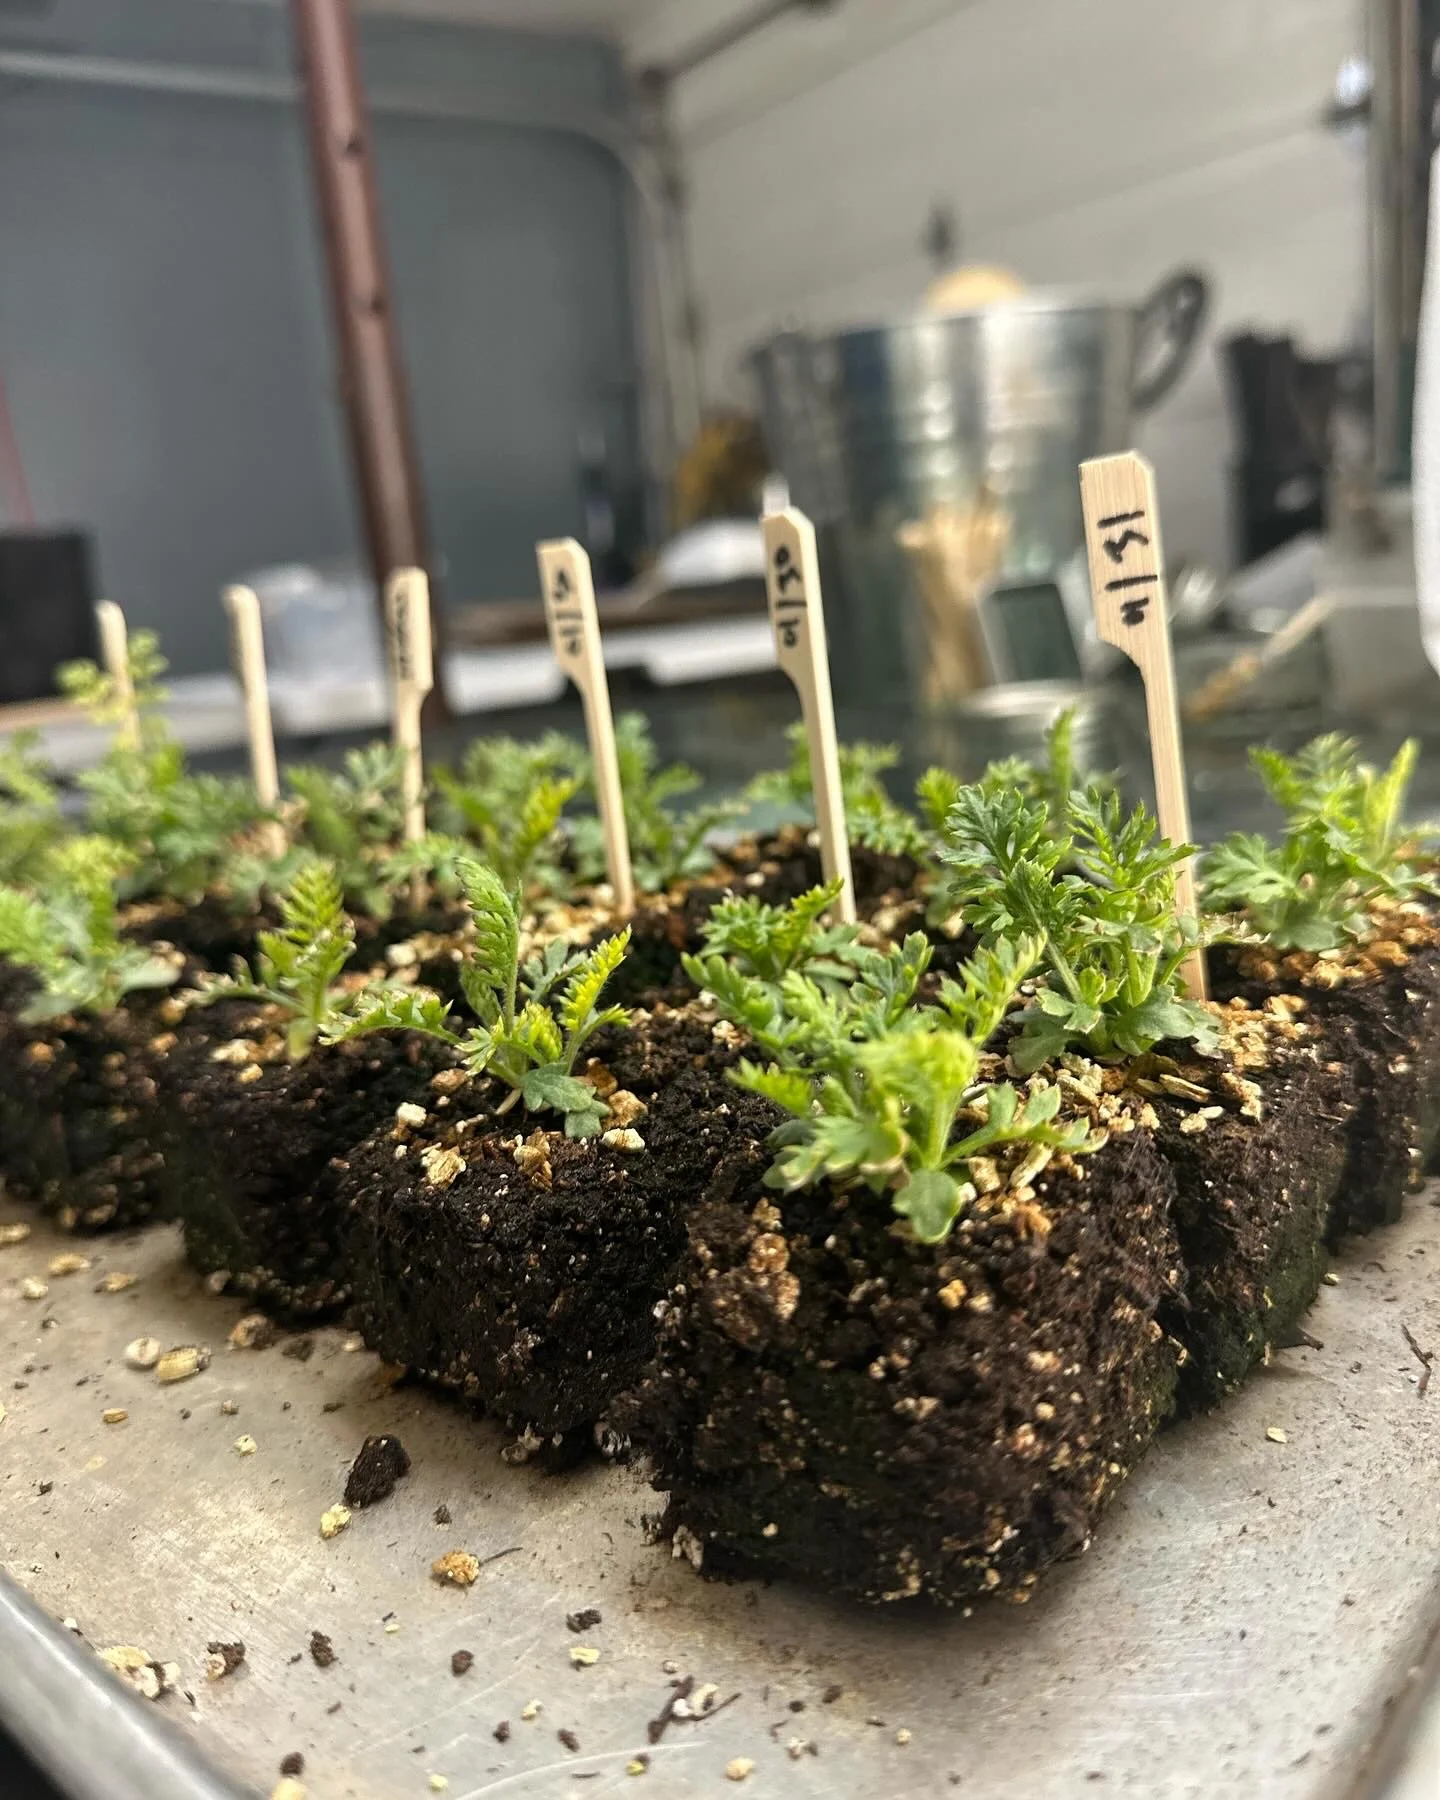
Once your seed germinates it will start to take off. With minimal care you’ll have a thriving plant in no time.
Ideal temperatures for growing on perennials is 15-18 degrees C (give or take - don’t get too caught up in perfection.)
Expose to 10+ hours per day of light.
Keep watering (not drenching the plant).
Once you see it’s busting out of its vessel - or in the case of soil blocks the roots are maxed out, pot it up or plant it out.
-

Planting Out
If you started your seeds indoors, you’re going to want to get them in your garden at some point.
You can plant outdoors anytime after first frost up to a few weeks before last frost. If your plant is still tiny it will be slightly more tender than a large plant.
Either way - water the hole well!
Plant at the depth so your plant is at ground level.
Water daily for 2-weeks. The plant, once established will need very little water.


