Garden Playbook
Module 4:
Site Preparation
Module 4: Garden Preparation – Setting the Stage for Success
Over the years, as we transformed an acre of grass into gardens, we tried various methods to clear grass, suppress weeds, and build functional paths. Don’t let preparing your garden space be the barrier that stops you from creating your garden. This module covers the practical steps we’ve learned, focusing on soil health and weed control.
1. Site Preparation
Preparing the site is a critical first step in creating a successful garden. Through trial and error, we’ve used three effective methods to clear grass and prepare planting areas:
Solarizing:
Use black silage tarps or clear plastic sheets to cover the soil for 4-6 weeks during the hottest months. This method heats the soil to kill weed seeds and pathogens. Solarizing creates a clean slate for planting without disturbing the soil structure. It's so satisfying to remove the tarp, but you do need to plant and mulch quickly because weeds will appear quickly.
Layering with Mulch and Corrugated Paper:
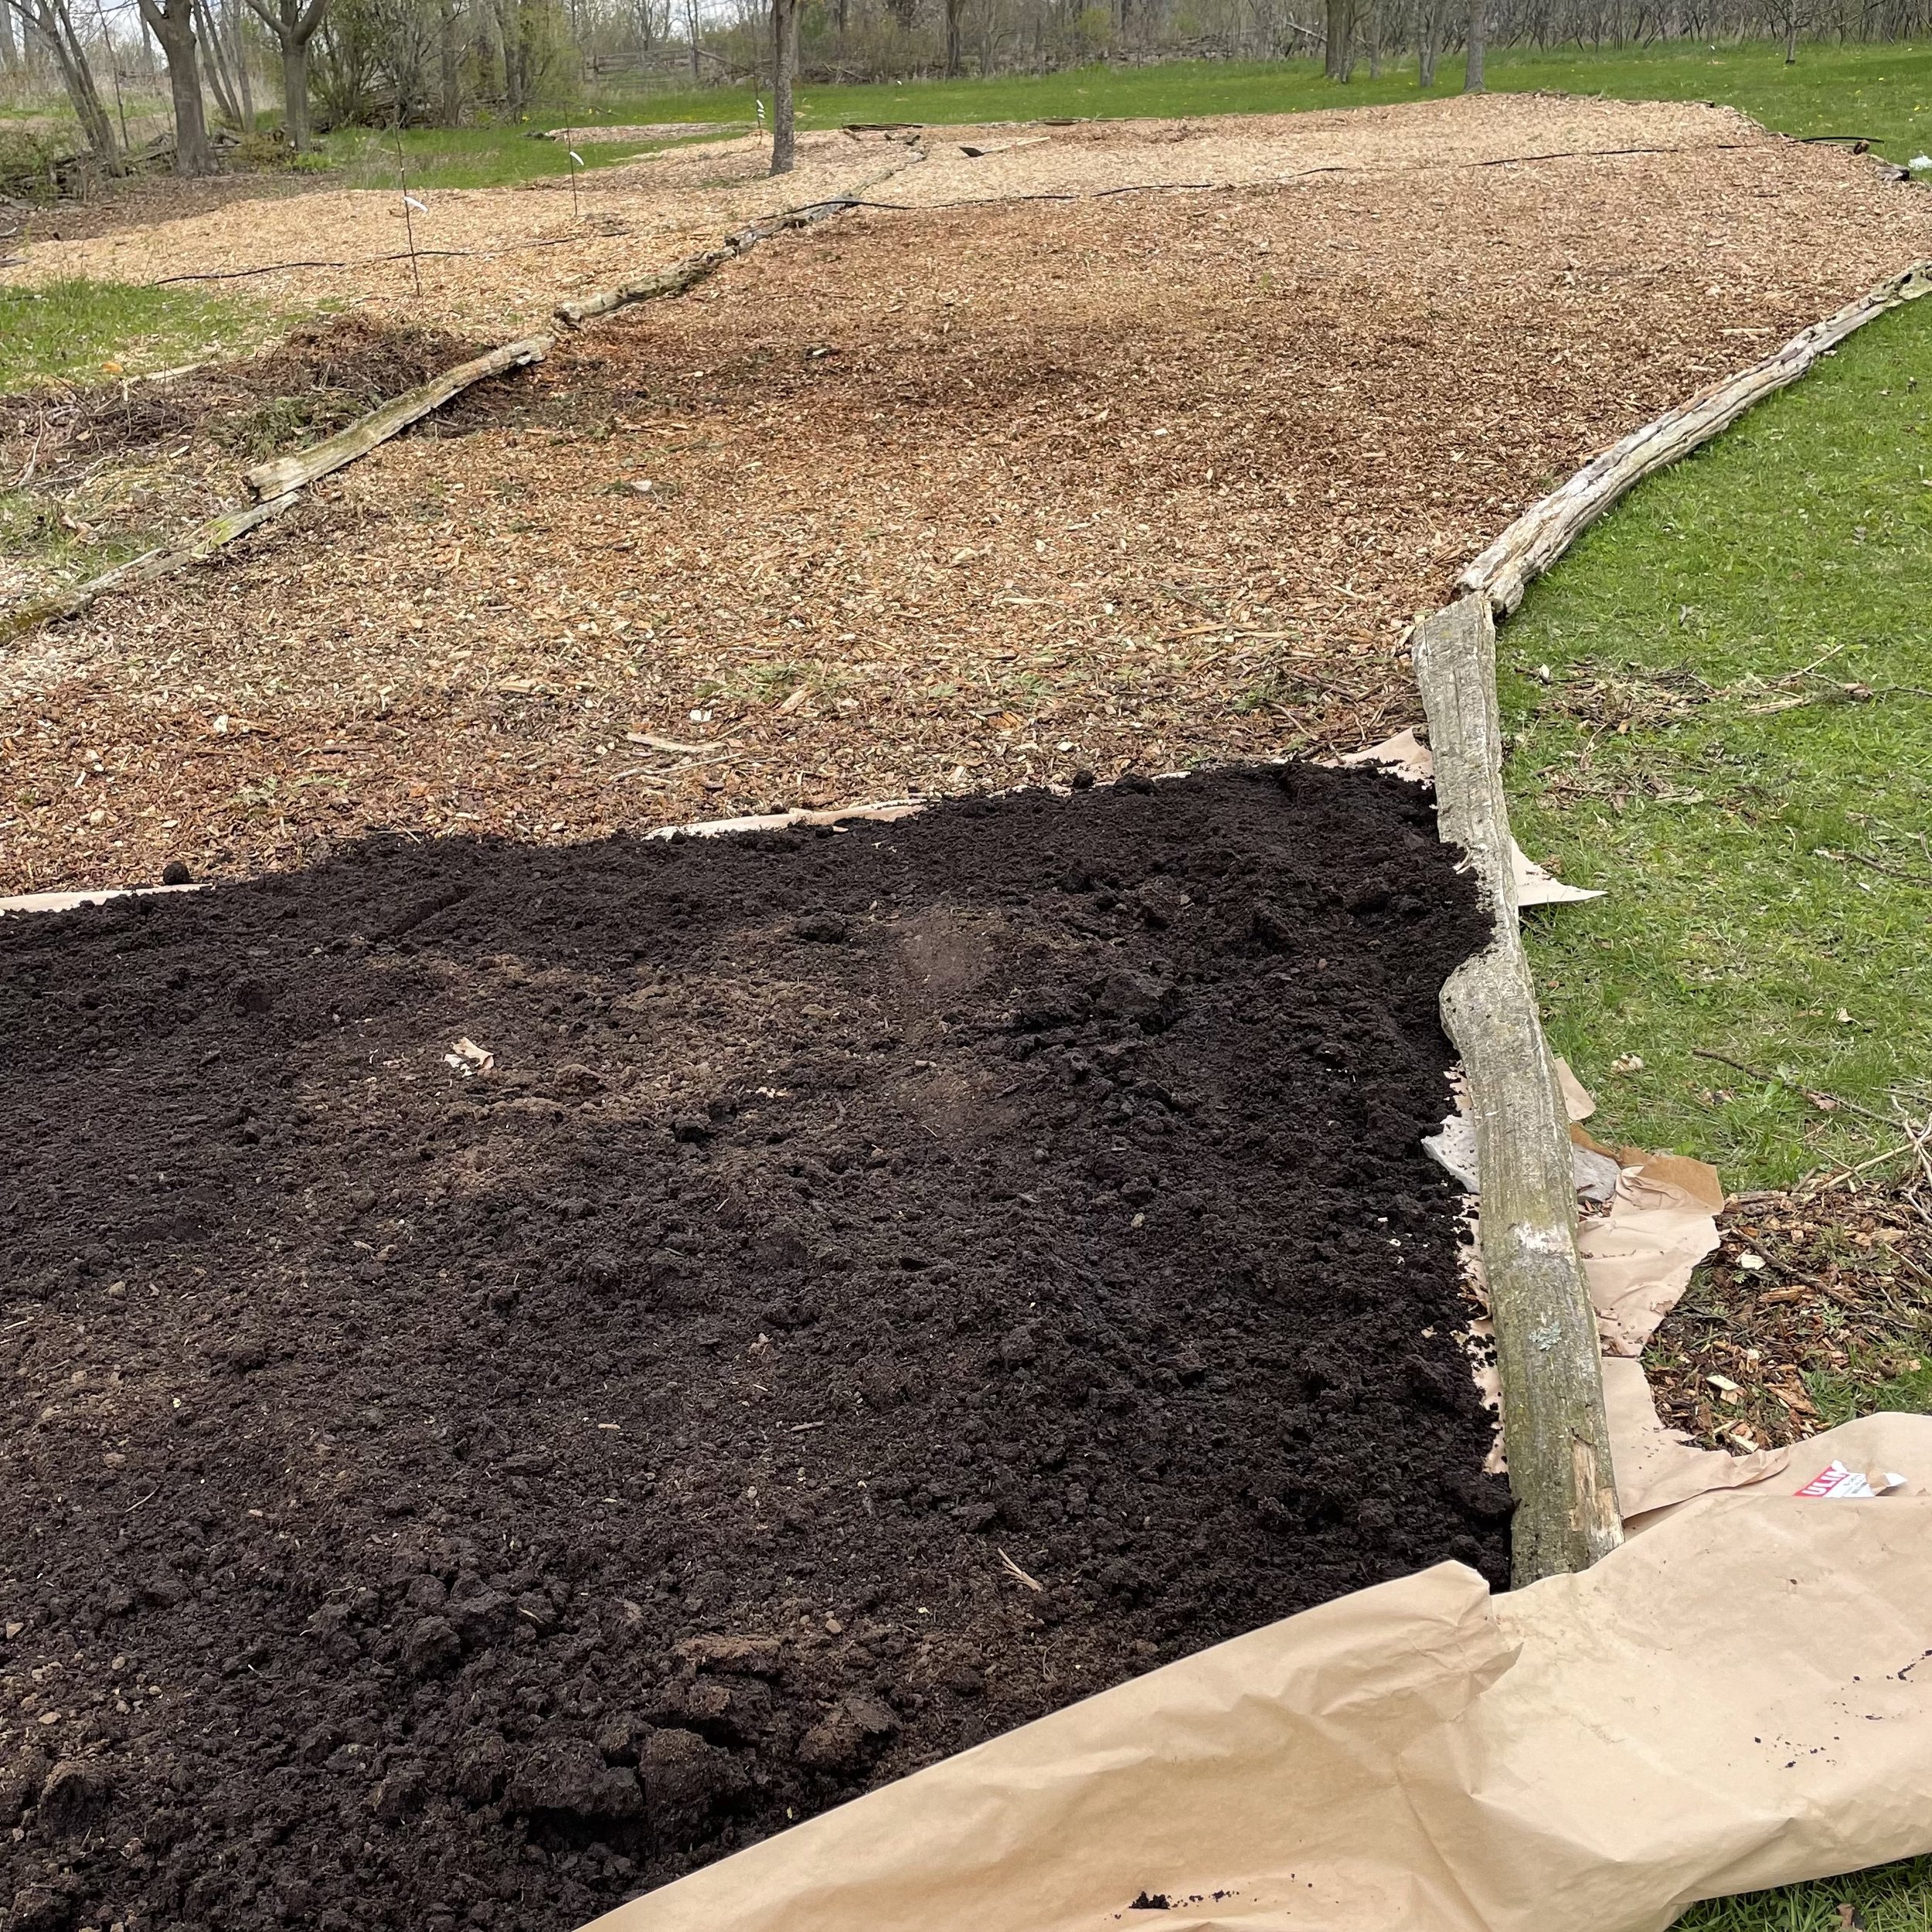
Lay down corrugated paper, followed by a thick layer of organic mulch and soil. This technique smothers grass and weeds while improving soil health over time. We used this method to establish our first new beds and it worked well. We didn't see weeds until Year 2.
Cardboard Suppression:
Spread flattened cardboard over the grass and overlap the edges to prevent gaps. Cover the cardboard with soil or mulch to hold it in place. This method is effective for larger areas and breaks down naturally, enriching the soil. The issue we have with this method is that weeds will find any gaps in the cardboard.
Each method has its benefits, and choosing the right one depends on size and materials at hand.
2. Soil Preparation
Healthy soil is the foundation of any successful garden. We have definitely observed the difference in the gardens where we paid more attention to the soil. Spoiler alert: generous application of manure can make a dramatic difference in soil health and plant size!
Incorporate Organic Matter:
We start beds, and enrich the soil annually with organic animal manure from our farm - rabbit, chicken and pig. This natural amendment improves structure to our sandy soil and boosts nutrient levels.
Managing Drainage:
Our property’s soil is naturally well-draining, so we use raised beds to manage weeds effectively and provide structured planting areas. We do this mainly for selling purposes, but raised beds can also help in areas with less-than-ideal soil conditions to create a controlled planting area.
Avoid Fertilizers:
We don’t use synthetic or additional fertilizers. Perennials, once established, thrive with minimal inputs. A yearly top-up of manure provides all the nutrients they need for healthy, enduring growth.
3. Weed Control
Weeds are real! Effective weed control is critical to establishing a healthy garden and not wanting to tarp it over mid-way through the season.
Mulching:
In spring apply a 2-3 inch layer of organic mulch, such as wood chips or straw, to suppress weeds and retain moisture. As plants fill in, we don't want to see it - but you want to ensure weeds don't get a head start.
Avoid piling mulch directly against plant stems to prevent rot.
Hand Weeding and Cultivation:
Regularly inspect and remove weeds, especially before they go to seed. Use a hoe if it's a larger space, but check them daily.
Use tools like hoes or cultivators to disturb the top layer of soil, discouraging weed growth.
Ground Cover Plants: In addition to dense and total planting, ground cover plants are a great option to hold weeds at bay. A weed will find open soil so put a plant in first!
Purpose of Ground Covers:
Suppress weeds by covering bare soil.
Retain soil moisture and stabilize soil temperatures.
Add visual interest with varied textures and colors.
Examples of Ground Cover Plants:
Thymus serpyllum (Creeping Thyme)
Geum 'Tango' or Geum 'Koi' (select based on your desired color palette and garden design)
Ground covers are especially useful in pathways, under taller plants, or in areas where mulch may not be practical.
4. Paths
Paths play a crucial role in both the aesthetics and functionality of your garden. They guide movement, define spaces, and provide practical access to planting areas.
Types of Paths:
Mulch Paths: Affordable and easy to install, these paths blend seamlessly into naturalistic garden designs. Regular top-ups are needed to maintain depth and suppress weeds. We were really hoping these would work, but they need both weeded and topped up.
Gravel Paths: Durable and low-maintenance, gravel paths are ideal for high-traffic areas and add a clean, structured look. We added these in year 3 and love them.
Stone Paths: We love the look when we steal stones from our old farm wall to place stone paths in the garden. They’re beautiful and charming - but not always stable. They’re a good choice to use sparingly for charm over function.
Design Tips:
Use curves to create a sense of flow and discovery in the garden.
Ensure paths are wide enough for comfortable navigation, especially in larger gardens.
Edging will help keep mulch or gravel contained.
Paths not only enhance the usability of your garden but are a huge contributor to the overall vibe - our stone paths were game changing for our gardens.
Bringing It All Together
Garden preparation is the foundation of a successful gardening journey, but don’t let it be intimidating or a roadblock. We carved some paths in later, added gravel later - it’s not necessarily sequential. Getting started is most important - expose the soil, and plant some plants.
Check out our Plants.
2025 pre-orders are now open. We are a small family farm so get your orders in to avoid disappointment.


